Compressing Images using Cosine Transform
Image Compression Process
In this project, I have designed the jpeg compression and extraction process. For this purpose, I have used cosine transform methods in the Jupiter environment.
You can see the project code along with the work report on GitHub.
Matrix Definitions: In this phase, we lay the foundational groundwork by defining two crucial matrices for the compression process: the quantization matrix and the cosine transform matrix. These matrices play pivotal roles in determining the degree of data reduction and the transformation of image data into a more compressible format.
Input Image Preparation: Load and preprocess the input image. This preprocessing step may involve tasks such as resizing, color space conversion, and noise reduction, ensuring the image is ready for compression.
Color Channel Separation: Extract the red, green, and blue color channels from the image. This step enables separate processing of each color component, preserving the image’s full color information.
Cosine Transform: Apply the cosine transform individually to each color channel. The cosine transform helps convert spatial image data into frequency components, allowing for efficient compression of various image patterns.
Quantization: Utilize the quantization matrix to quantize the transformed image data. This process involves rounding the values to a smaller set of values, reducing the precision of the data and thus compressing it.
Run-Length Compression: Implement run-length compression on the quantized data. Run-length compression identifies consecutive repeated values and replaces them with a single value followed by a count. This step further reduces redundancy in the data.
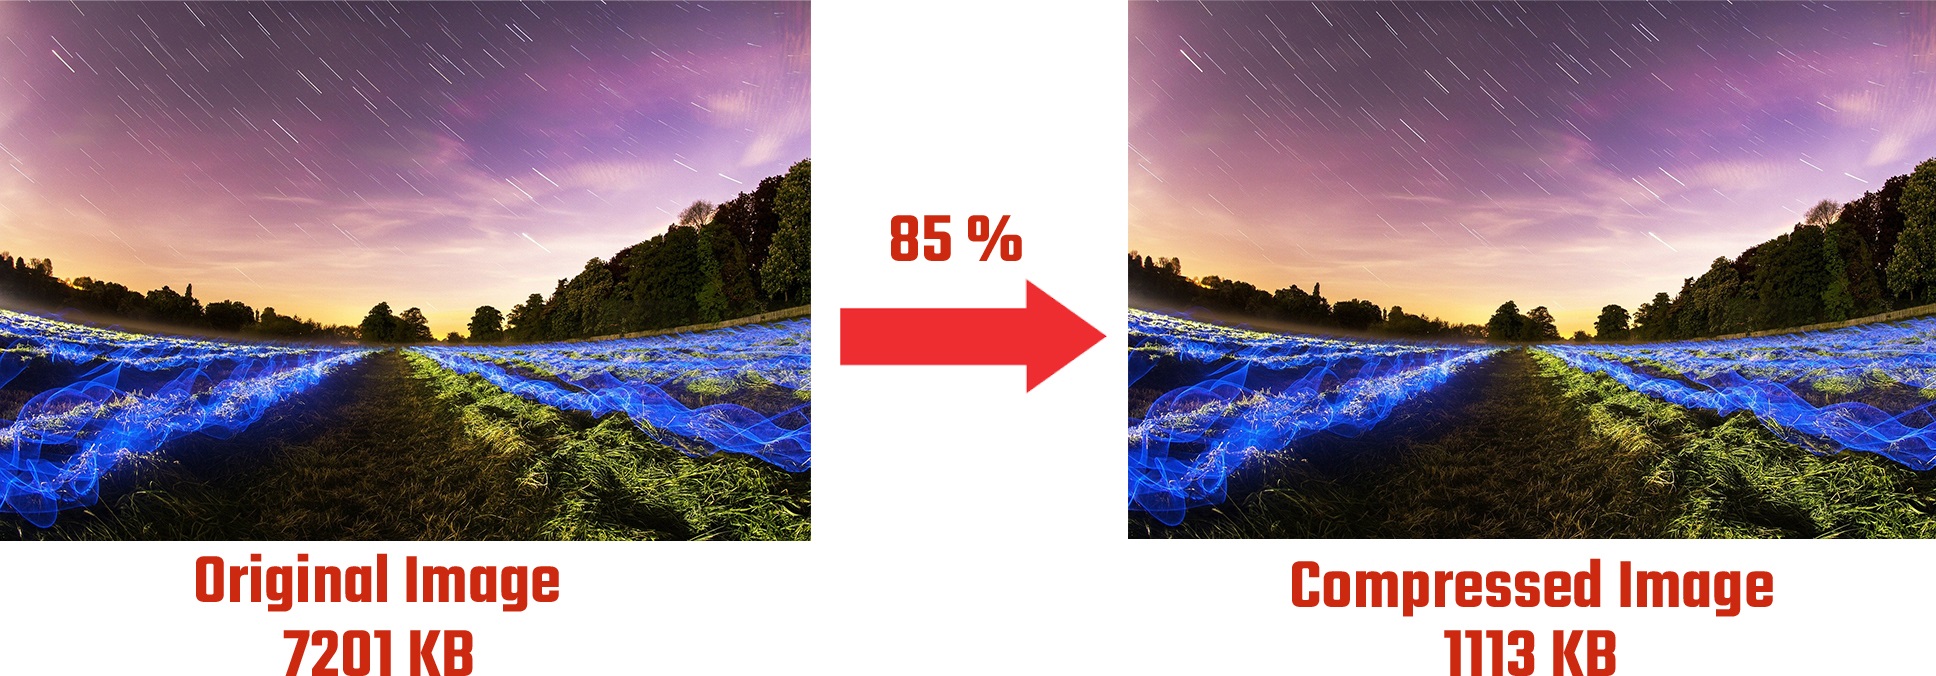
Compression Rate and Image Quality Assessment: Calculate the compression rate, which is the ratio of the compressed data size to the original data size. Additionally, assess the image quality using metrics like peak signal-to-noise ratio (PSNR) or structural similarity index (SSI). These metrics quantify the difference between the original and compressed images.
Visualization: Display both the original and compressed images to visually compare the results. This step allows users to evaluate the impact of compression on image quality.
Image Decompression Process
Run-Length Decompression: Begin by decompressing the run-length encoded data. This process reverses the run-length encoding, restoring the quantized data.
Dequantization and Inverse Cosine Transform: Apply the inverse of the quantization matrix to the decompressed data, reverting it to the original quantized coefficients. Next, perform the inverse cosine transform on each color channel, converting the frequency domain data back to the spatial domain.
Color Channel Reconstruction: Combine the transformed color channels (red, green, and blue) to reconstruct the original full-color image. This step ensures that the color information is reintegrated correctly.
Quality Comparison: Display the decompressed image and compare it to the original. Evaluate image quality using metrics like PSNR or SSI and conduct visual inspections to assess the success of the decompression process.
Results and Analysis
Compression Rate Evaluation: Measure the compression rate achieved by the compression process. A lower data size after compression indicates a higher compression rate.
Image Quality Assessment: Quantify the difference between the original and decompressed images using quantitative metrics. Additionally, provide graphical representations to visualize the image quality changes.
Overall Analysis: Summarize the effectiveness of the compression and decompression processes, considering both the compression rate and image quality. Discuss any trade-offs between compression and quality.


